반응형
공식 문서에 나온 형태로 작성 했지만 오류가 발생하시는 분들이 있을 거라 생각해(본인) 작성하게 됐습니다.
빠르고 본론만 슈르륵 말하겠습니다.
공식 문서 내용
import GoogleMobileAds

class AppDelegate: UIResponder, UIApplicationDelegate {

  func application(_ application: UIApplication,
      didFinishLaunchingWithOptions launchOptions: [UIApplication.LaunchOptionsKey: Any]?) -> Bool {

    GADMobileAds.sharedInstance().start(completionHandler: nil)

    return true
  }
}

@main
struct YourApp: App {
  // To handle app delegate callbacks in an app that uses the SwiftUI lifecycle,
  // you must create an application delegate and attach it to your `App` struct
  // using `UIApplicationDelegateAdaptor`.
  @UIApplicationDelegateAdaptor(AppDelegate.self) var appDelegate

  var body: some Scene {
    WindowGroup {
      NavigationView {
        ContentView()
      }
    }
  }
}
분명 이렇게 나와 있어 추가하고 했지만 오류가 나시는 분들은 아래와 같이 고쳐주세요
수정하기
// GADMobileAds.sharedInstance().start(completionHandler: nil) 해당 코드를 아래와 같이 변경


MobileAds.shared.start(completionHandler: nil)
공식 문서와 다르게 되어 있는 분들을 위해 이게 정말 맞는지 콘솔에서 확인하고 싶으시면 아래와 같은 코드를 작성 해주세요.
수정 코드 테스트하기
MobileAds.shared.start { status in
    let statusDict = status.adapterStatusesByClassName
    for (className, item) in statusDict {
        print("AdMob 초기화 상태:")
        print("어댑터 클래스: \(className)")
        print("초기화 상태: \(item.state.rawValue)")
        print("설명: \(item.description)")
    }
}
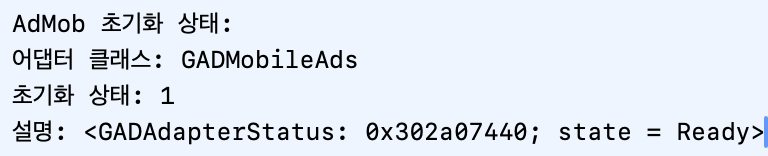
이제 실행 해보시면 앱 시작시 콘솔을 확인해주시면 됩니다.
AdMob 초기화 상태:
어댑터 클래스: GADMobileAds
초기화 상태: 1
설명: <GADAdapterStatus: 0x302a07440; state = Ready>
위와같이 나오면 사용하시면 됩니다!
반응형
'개발하기 > SwiftUI' 카테고리의 다른 글
| [개발 기능 소개] Swift 앱에서 한글 파일(HWP) 선택 및 관리 기능 구현하기 (0) | 2025.03.23 |
|---|---|
| [SwiftUI] iOS 알림 배너에 커스텀 아이콘 추가하기(+복잡 X) (0) | 2025.02.11 |
| Xcode에서 Pod init해결 방법 (0) | 2024.12.06 |
| error: unable to read property list from file: (0) | 2024.12.03 |
| [2탄]The Oxford-IIIT Pet Dataset를 이용해 닮은 동물 ios 앱 만들기 (0) | 2024.09.30 |


